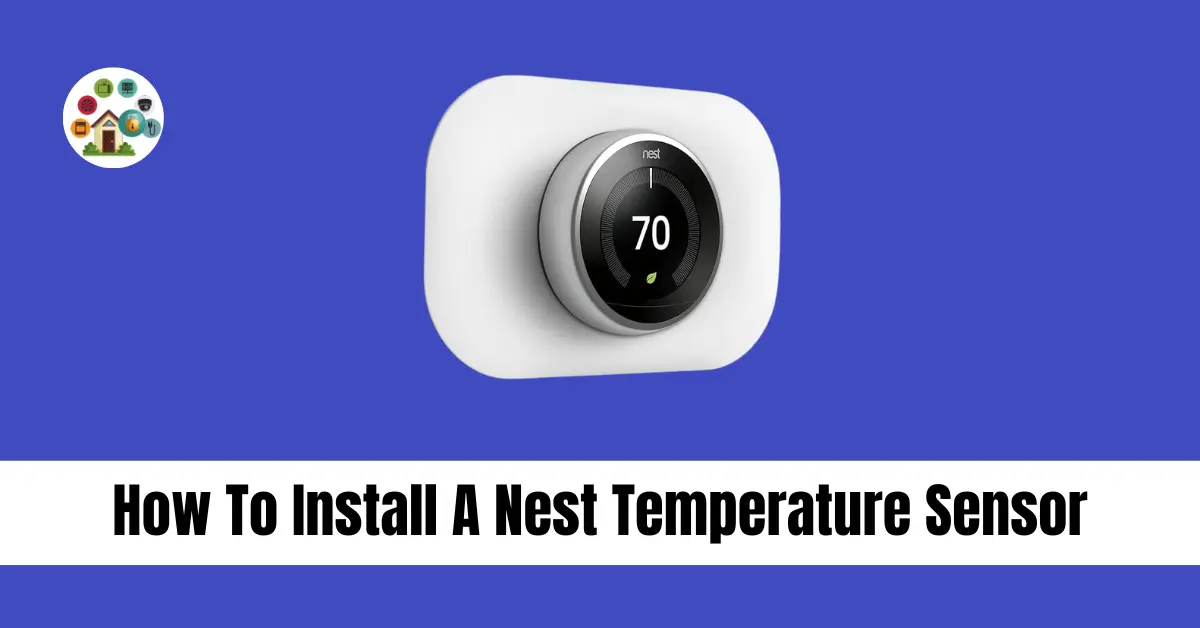
Nest Temperature Sensors are a convenient way to enhance the functionality of your Nest Thermostat by measuring temperature in different rooms. Installing these sensors is straightforward and can be done by following a few simple steps. This guide will walk you through the installation process, provide tips for setup, and answer common questions.
Contents
Preparing for Installation
Before you begin installing your Nest Temperature Sensor, make sure you have the following:
- Nest Thermostat (compatible with Nest Temperature Sensor)
- Nest app installed on your smartphone or tablet
- Stable Wi-Fi connection
Steps to Install a Nest Temperature Sensor
Prepare the Nest App:
- Open the Nest app on your device.
- Ensure your Nest Thermostat is connected and operational.
Check Compatibility:
Verify that your Nest Thermostat model supports Nest Temperature Sensors. Not all models are compatible.
Unbox the Temperature Sensor:
- Remove the Nest Temperature Sensor from its packaging.
- Check for any included instructions or guides.
Choose a Location:
- Decide where you want to place the sensor. It should be in a room where temperature control is crucial.
- Avoid placing it near direct sunlight, drafts, or in a closed space like a cupboard.
Install the Battery:
- Open the back of the sensor by twisting it counterclockwise.
- Insert the included CR2 battery as per the markings (pay attention to polarity).
- Close the cover securely.
Pair with the Nest Thermostat:
- In the Nest app, go to the settings for your thermostat.
- Select “Add product” or “Add sensor” depending on the app version.
- Follow the on-screen instructions to pair the sensor with your thermostat.
Test the Sensor:
- After pairing, place the sensor in the chosen location.
- Wait for a few minutes for the Nest Thermostat to detect and start using the sensor data.
Adjust Settings (if needed):
- In the Nest app, you can adjust settings related to how the thermostat uses the sensor data.
- Customize temperature preferences and schedules based on sensor input.
Monitor Performance:
- Keep an eye on the Nest app to ensure the sensor is functioning correctly.
- Check temperature readings and adjust settings as necessary.
Comparison of Nest Temperature Sensors
| Feature | Nest Temperature Sensor | Other Brands’ Sensors |
| Compatibility | Works with Nest Thermostats | Varies by brand |
| Range | Approx. 50 ft (15 m) | Varies |
| Battery Life | Up to 2 years | Varies |
| Wireless Connection | Uses Bluetooth Low Energy | Varies |
| Temperature Accuracy | ±1°F (±0.5°C) | Varies |
| Price | Typically $39 per sensor | Varies |
FAQs
Can I use multiple Nest Temperature Sensors with one thermostat?
Yes, you can connect up to 6 Nest Temperature Sensors to a compatible Nest Thermostat.
How do Nest Temperature Sensors improve comfort?
By placing sensors in different rooms, the thermostat can better regulate temperatures throughout your home, focusing on occupied areas.
Do Nest Temperature Sensors work with all Nest Thermostat models?
No, they are compatible only with certain models of Nest Thermostats. Check compatibility before purchasing.
What should I do if the Nest Temperature Sensor isn’t connecting?
Ensure the sensor is within range of the thermostat and that both devices have adequate battery power. Restarting the thermostat or re-pairing the sensor may also help.

